One screen. Every part of your event day.
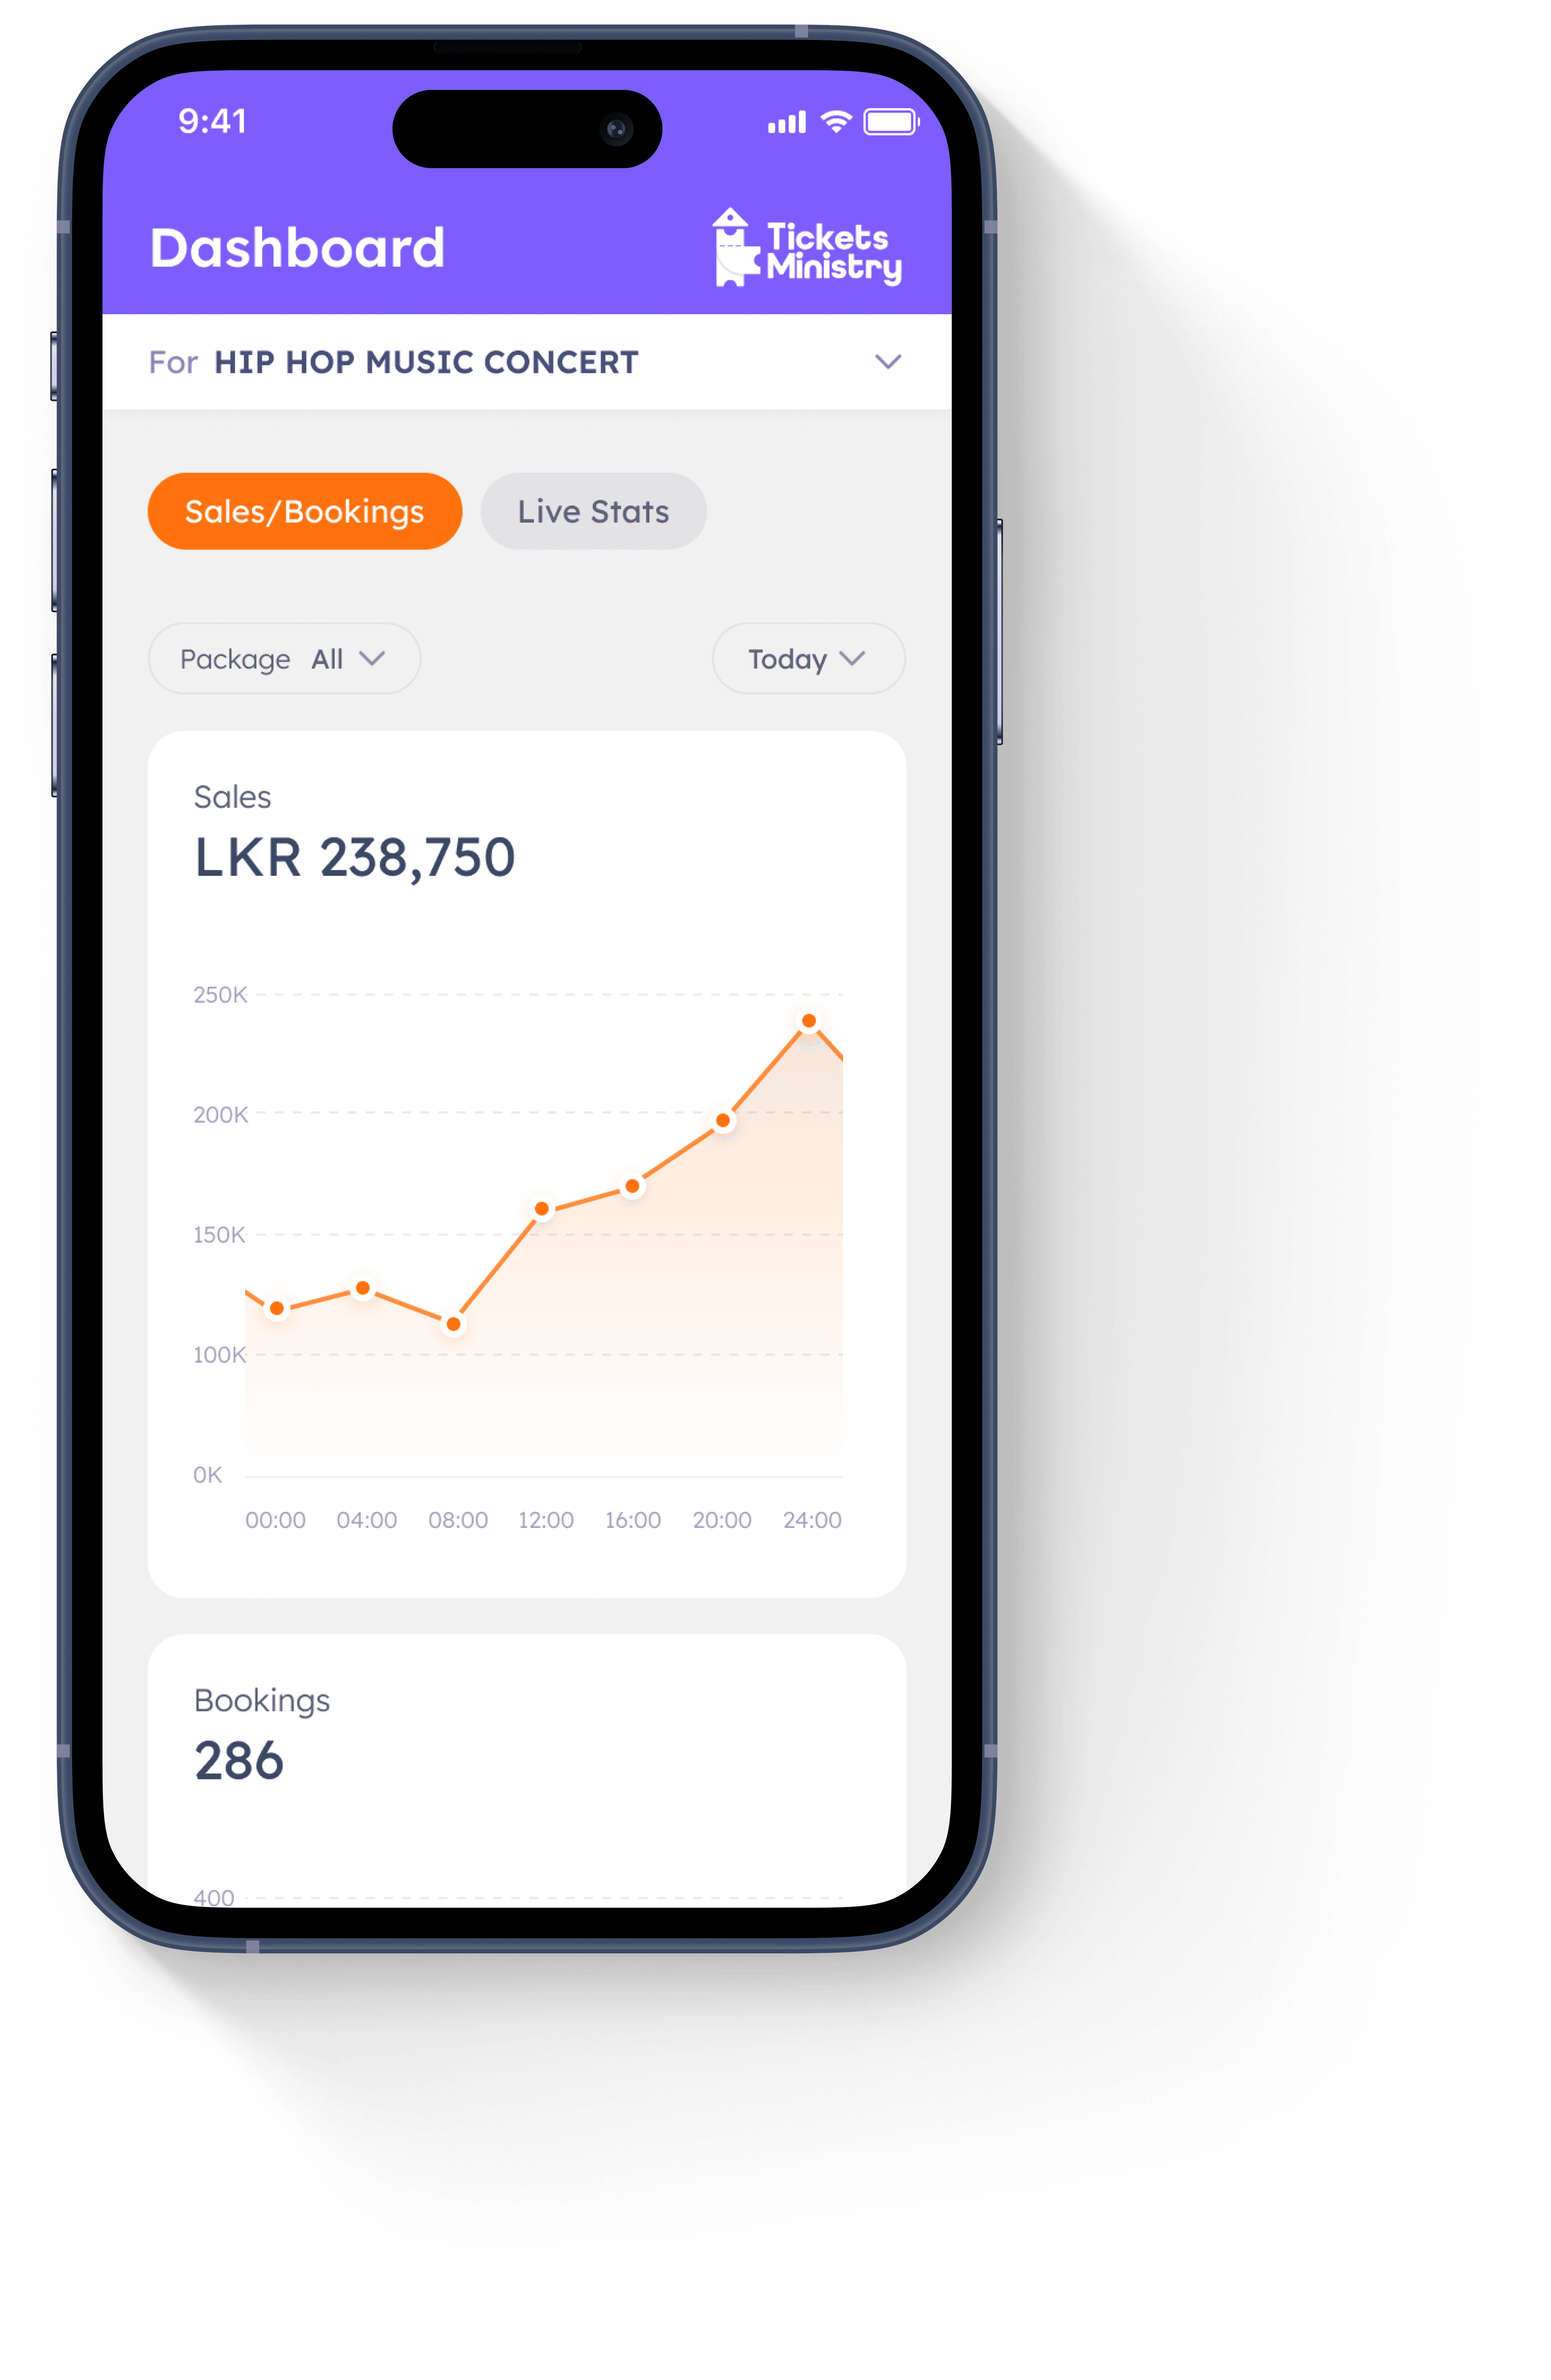
Watch bookings climb in real time.
- Interactive revenue trend over time
- Filter by package and date range
- Live booking count updated automatically
Watch bookings climb in real time.
- Interactive revenue trend over time
- Filter by package and date range
- Live booking count updated automatically
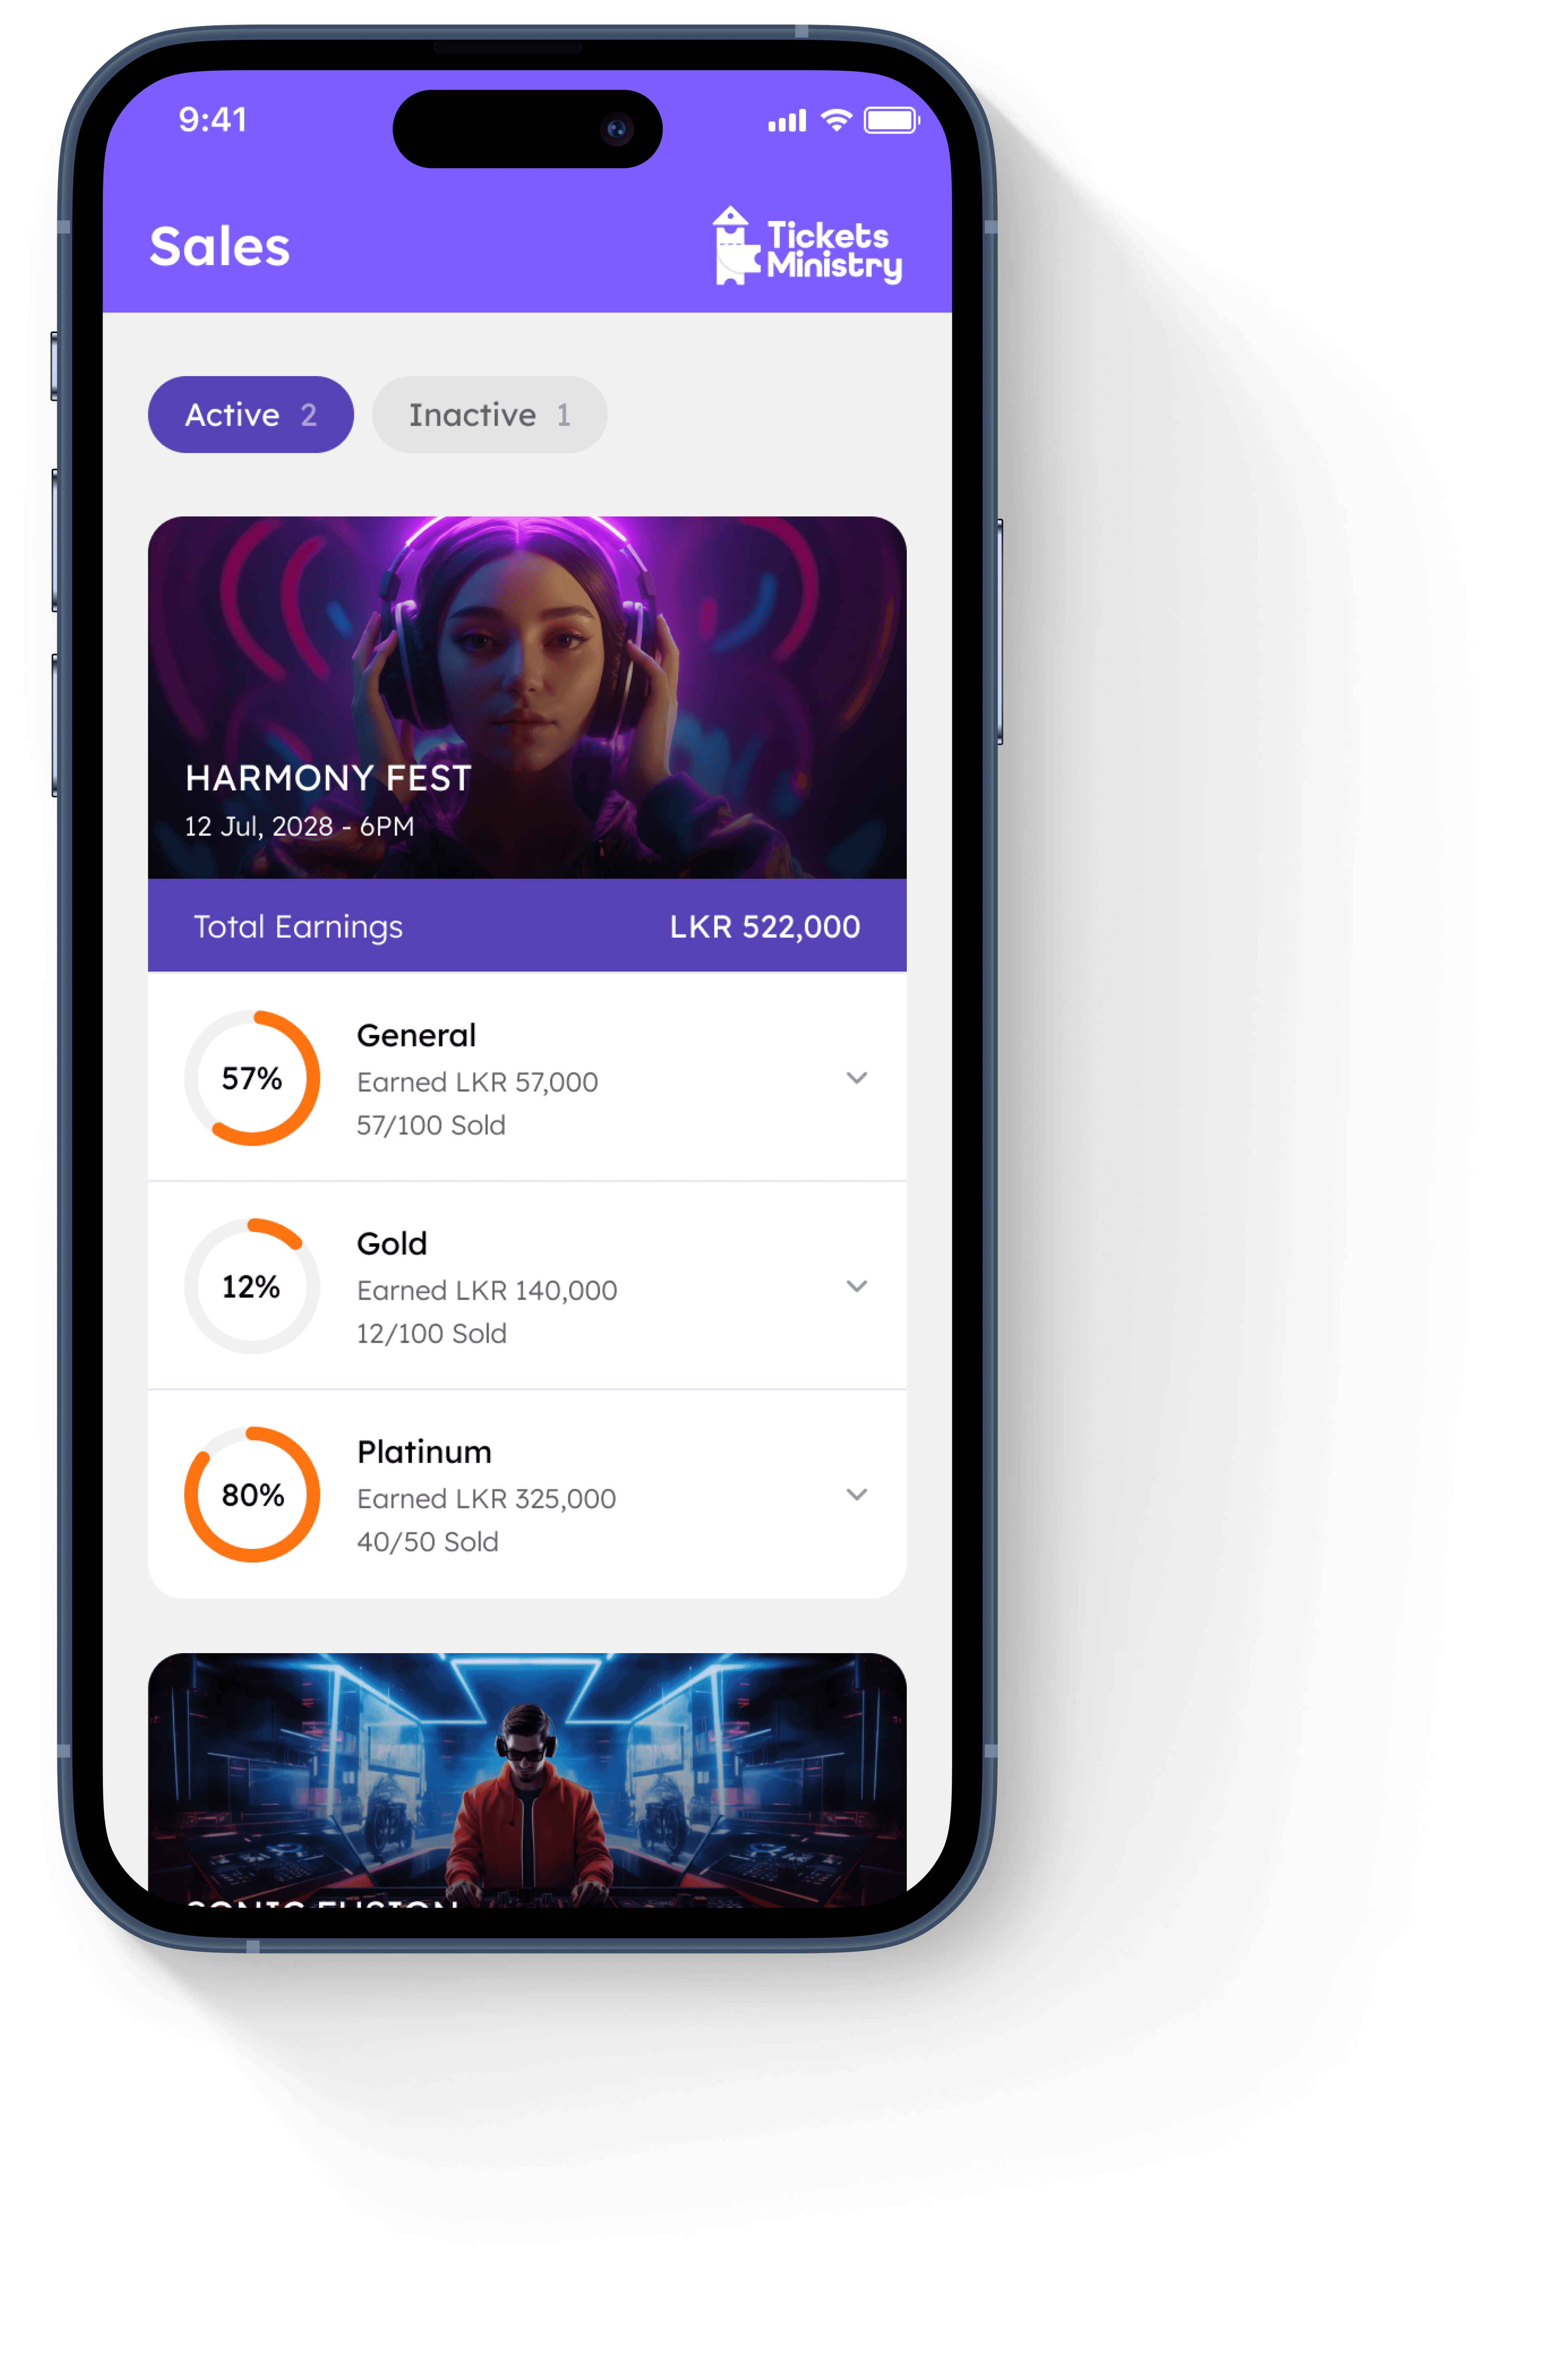
Live earnings across every ticket package.
- Live earnings breakdown by ticket tier
- Visual sold-vs-remaining progress per package
- Total revenue tracking at a glance
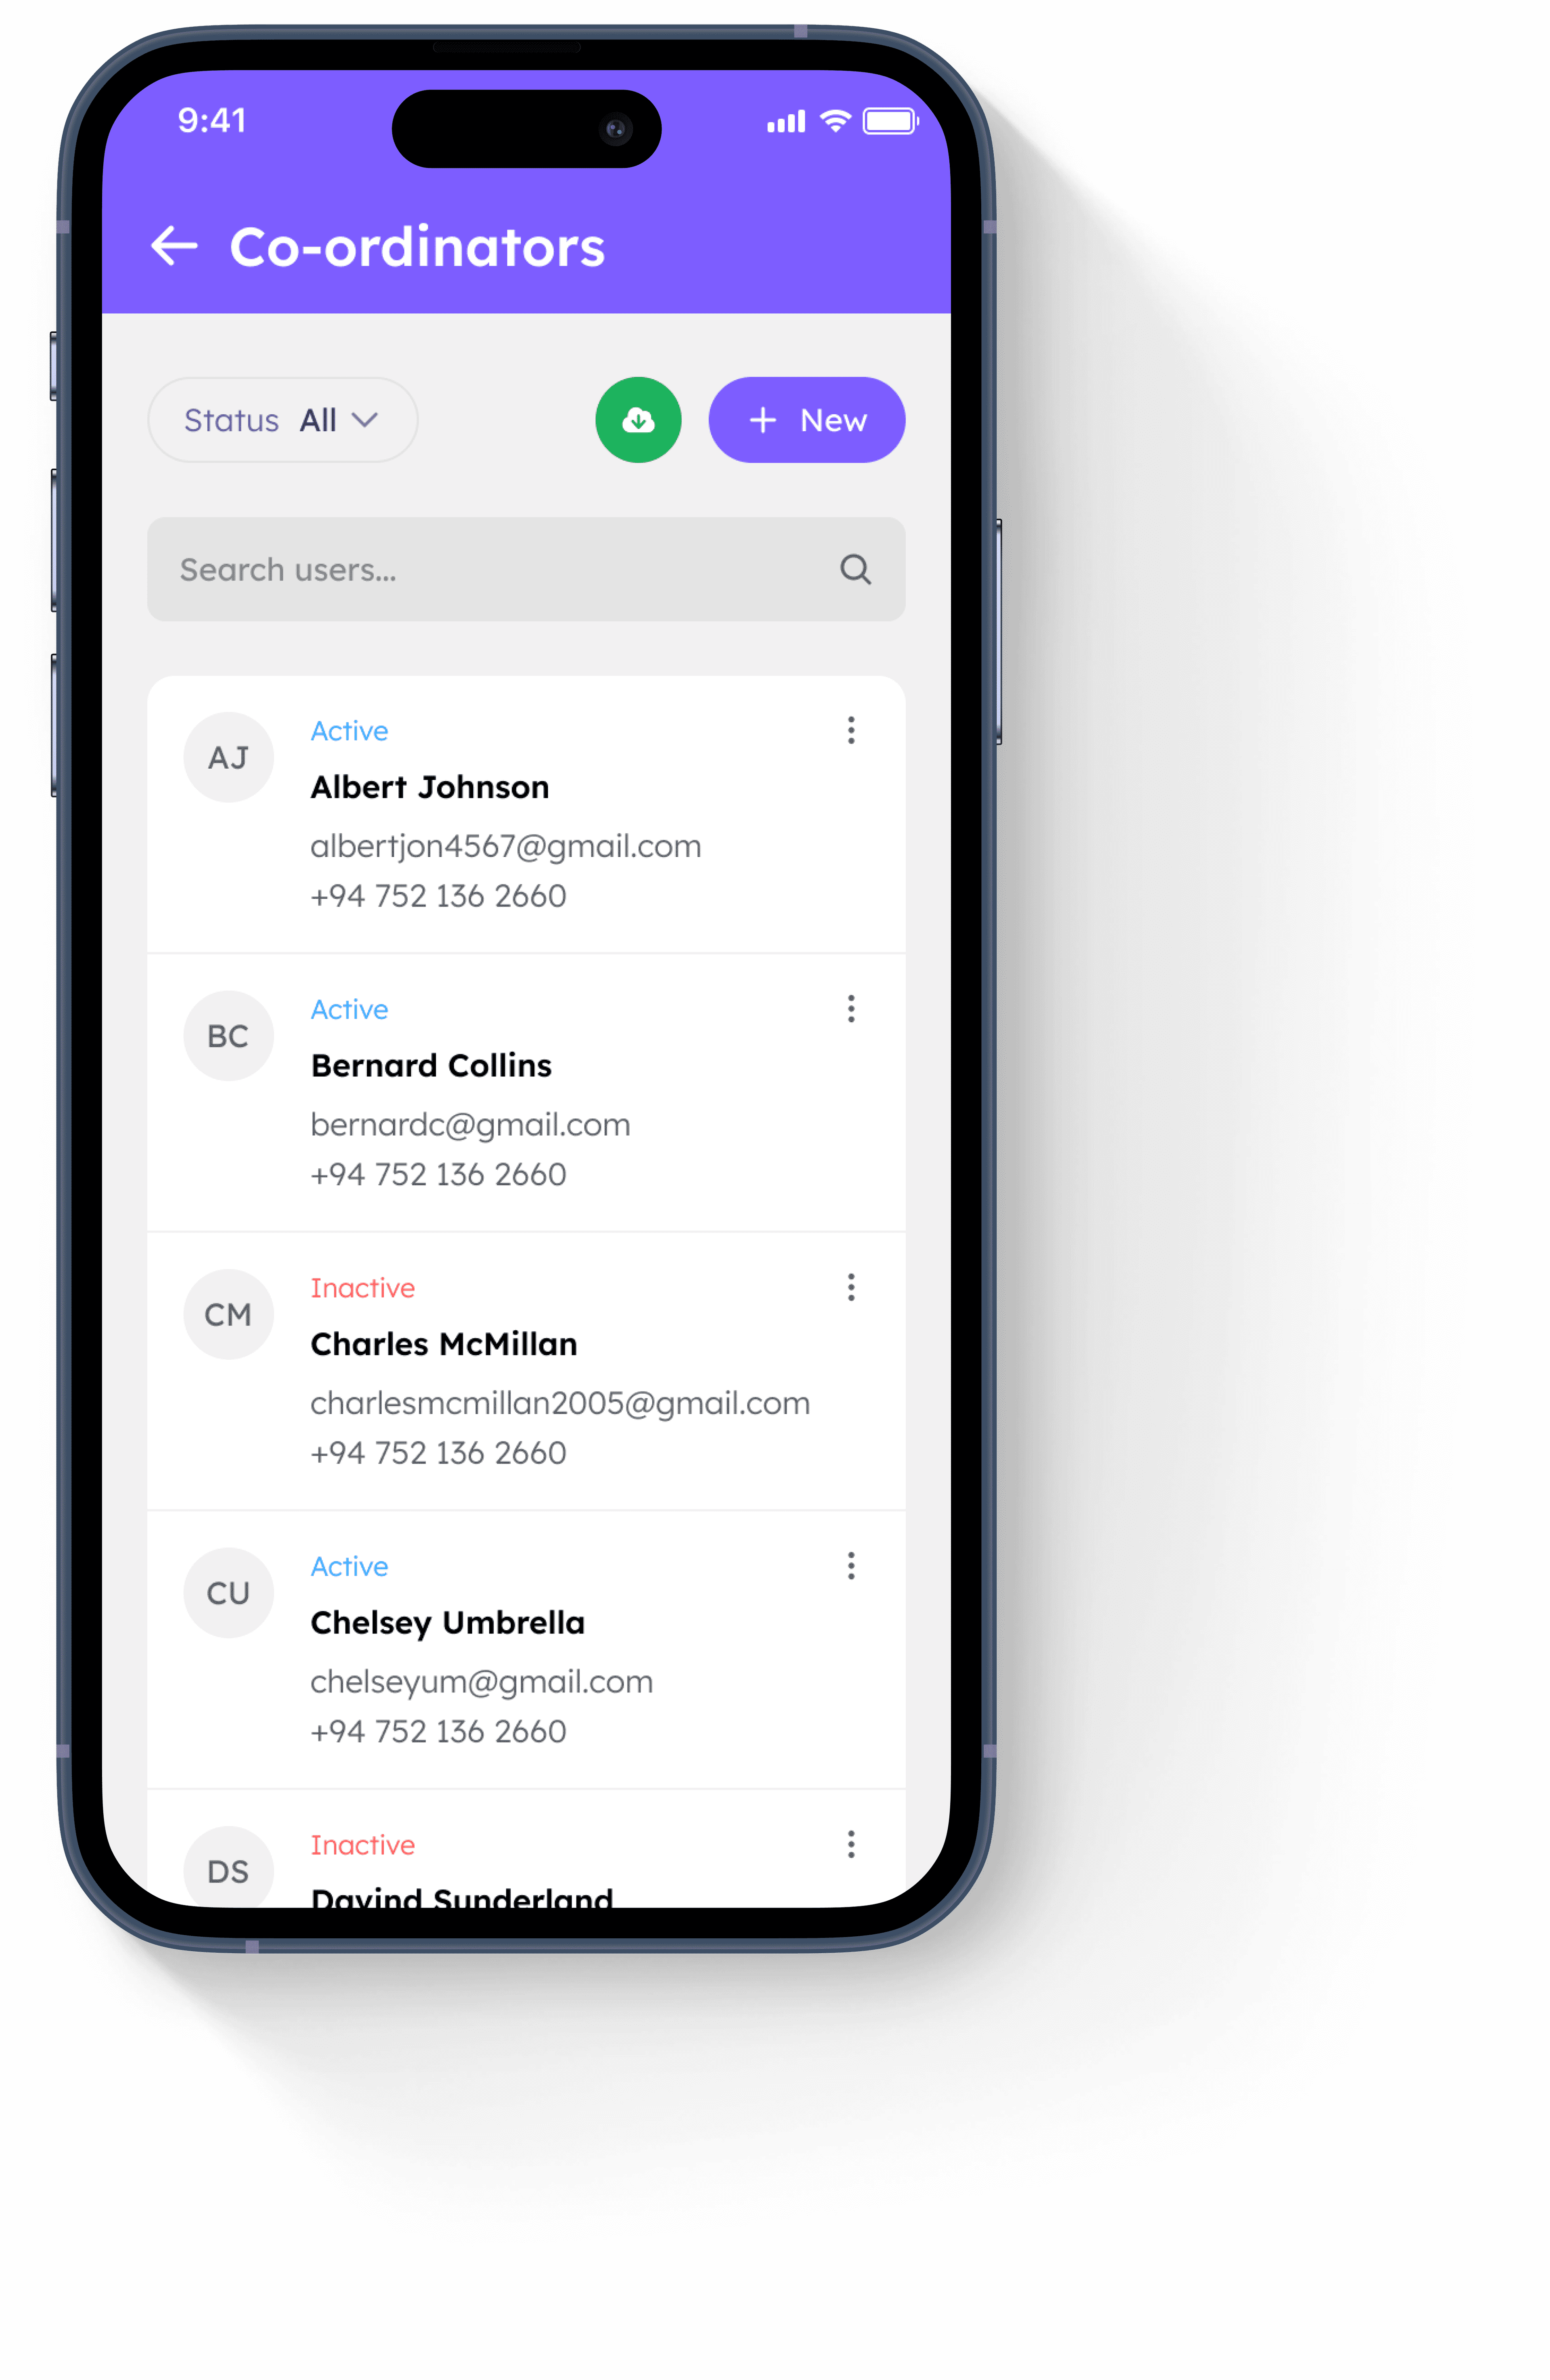
Control staff access and roles in one tap.
- Add unlimited co-ordinators with role-based access
- Toggle active/inactive status in one tap
- Instant search across your entire team
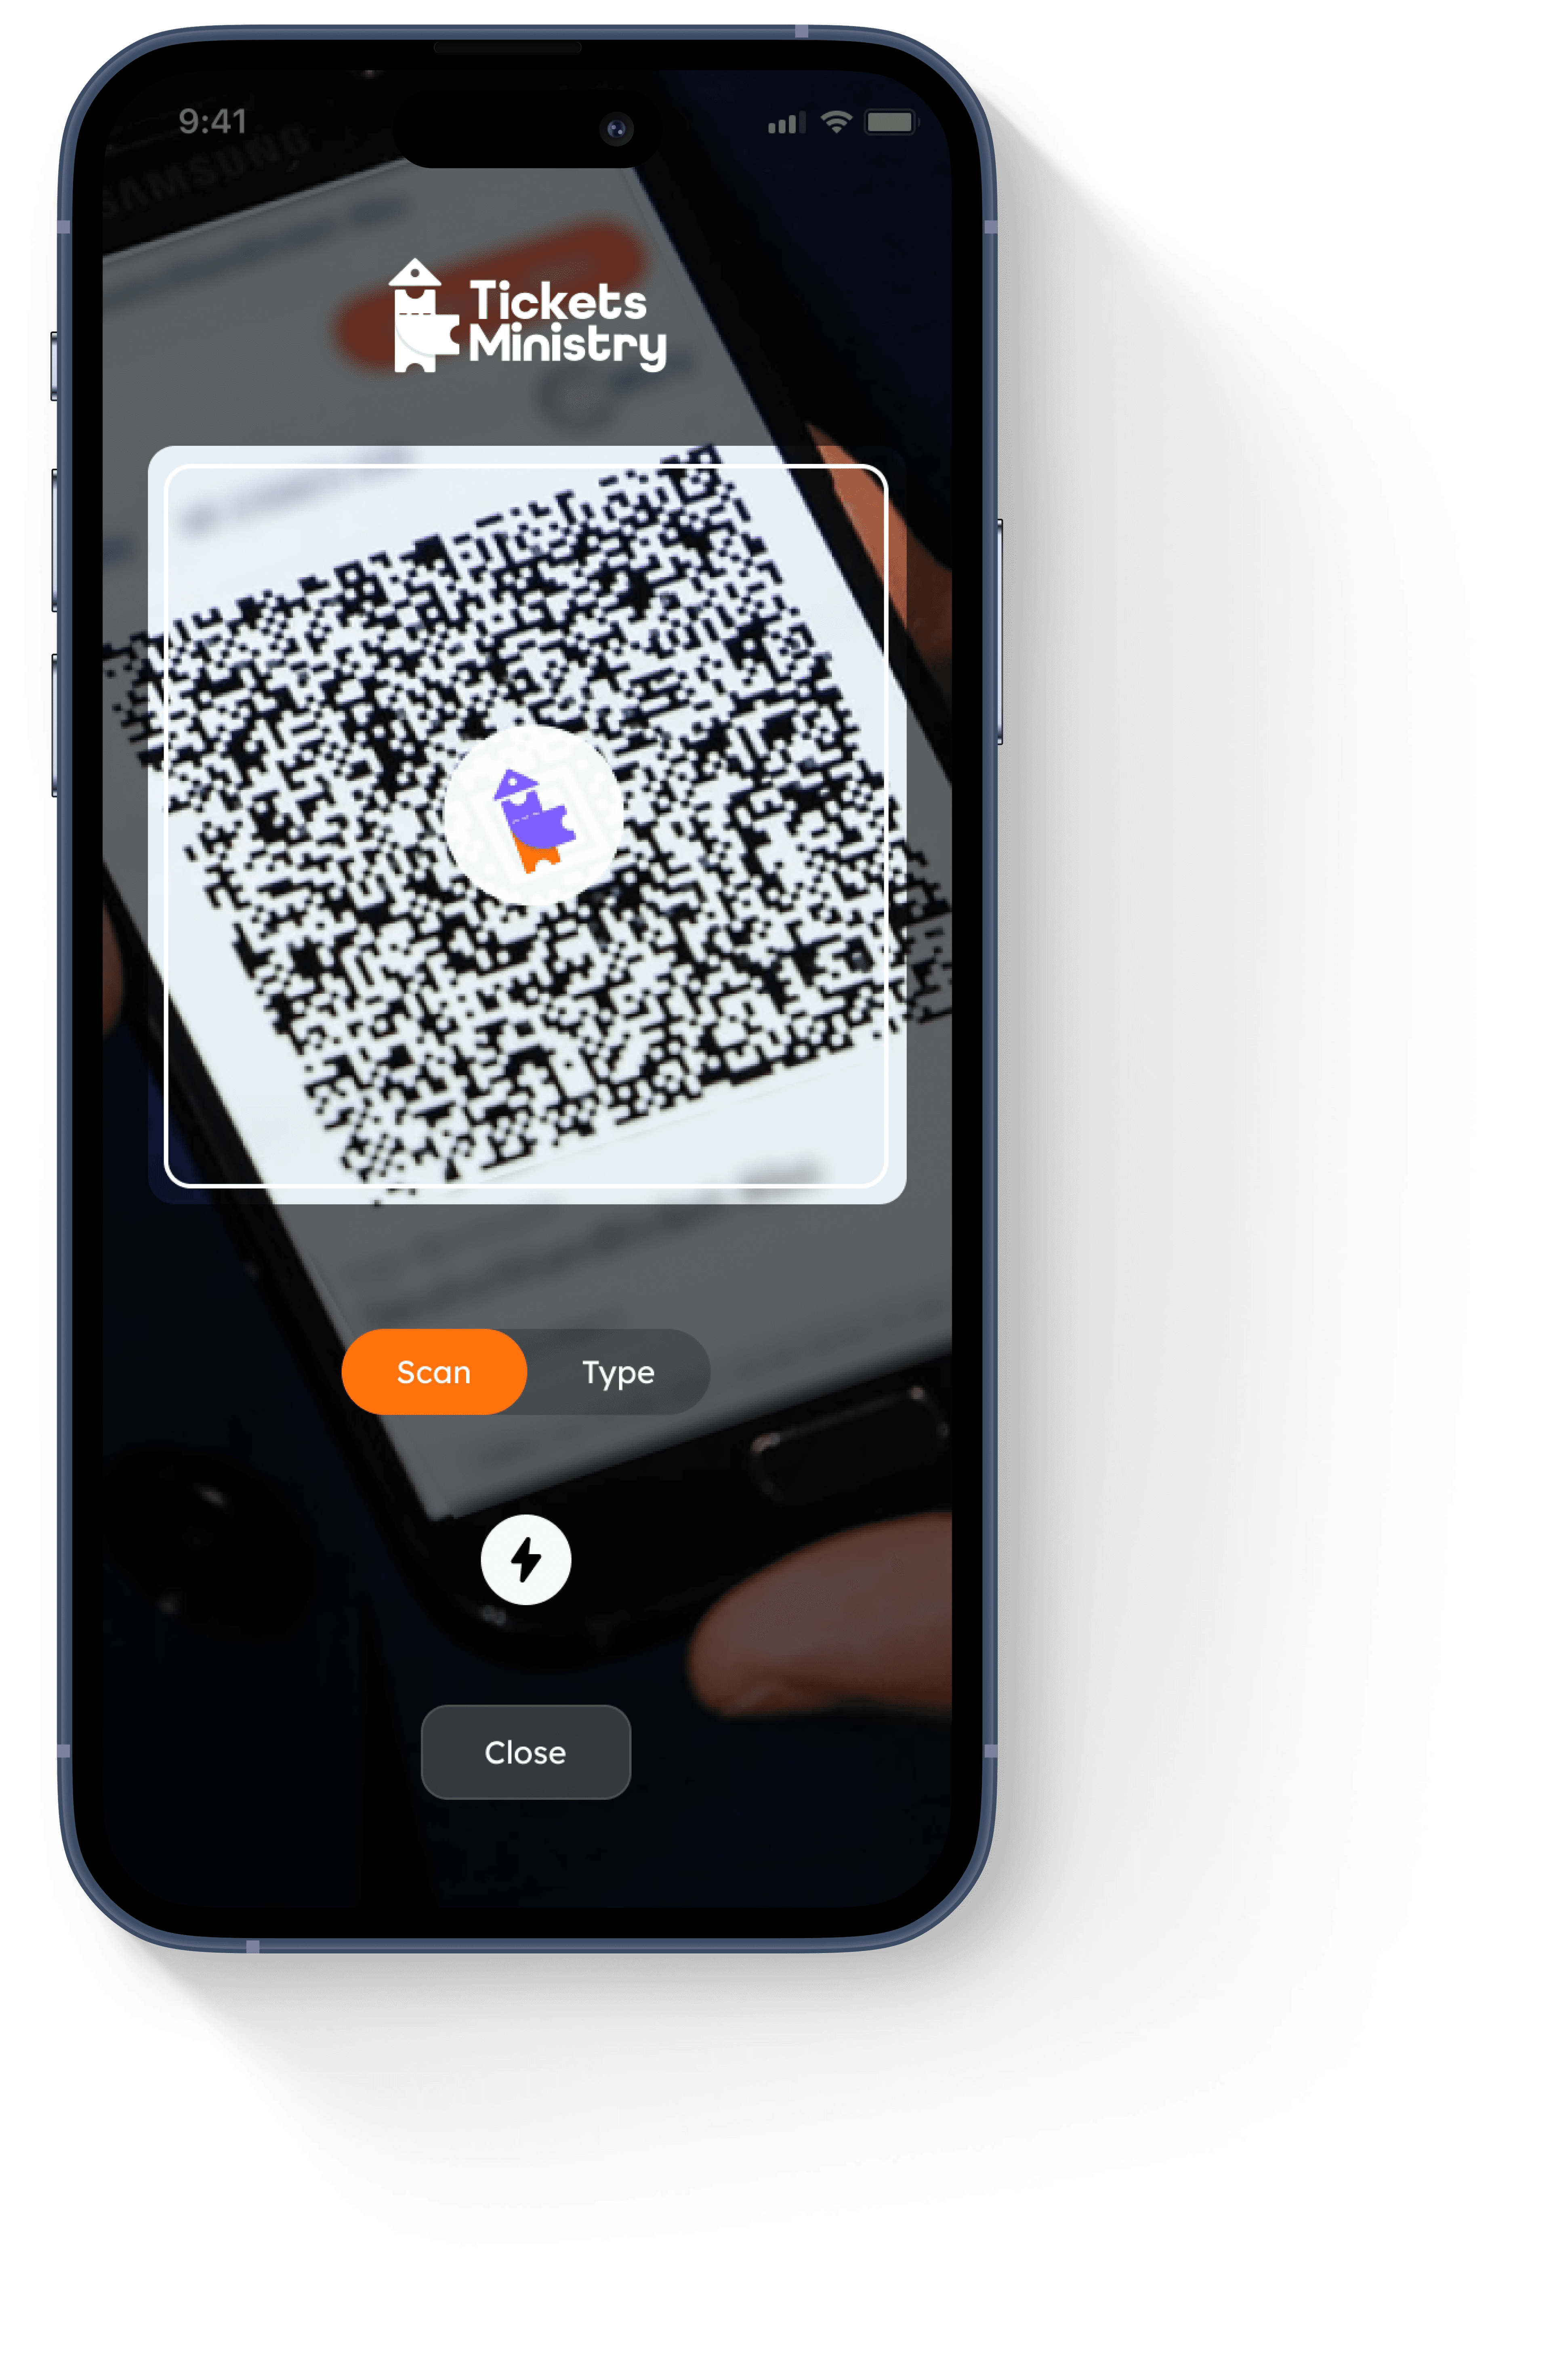
Secure gate validation in milliseconds.
- Millisecond QR validation at the gate
- Manual code entry as a backup
- Instant fraud and duplicate-ticket checks
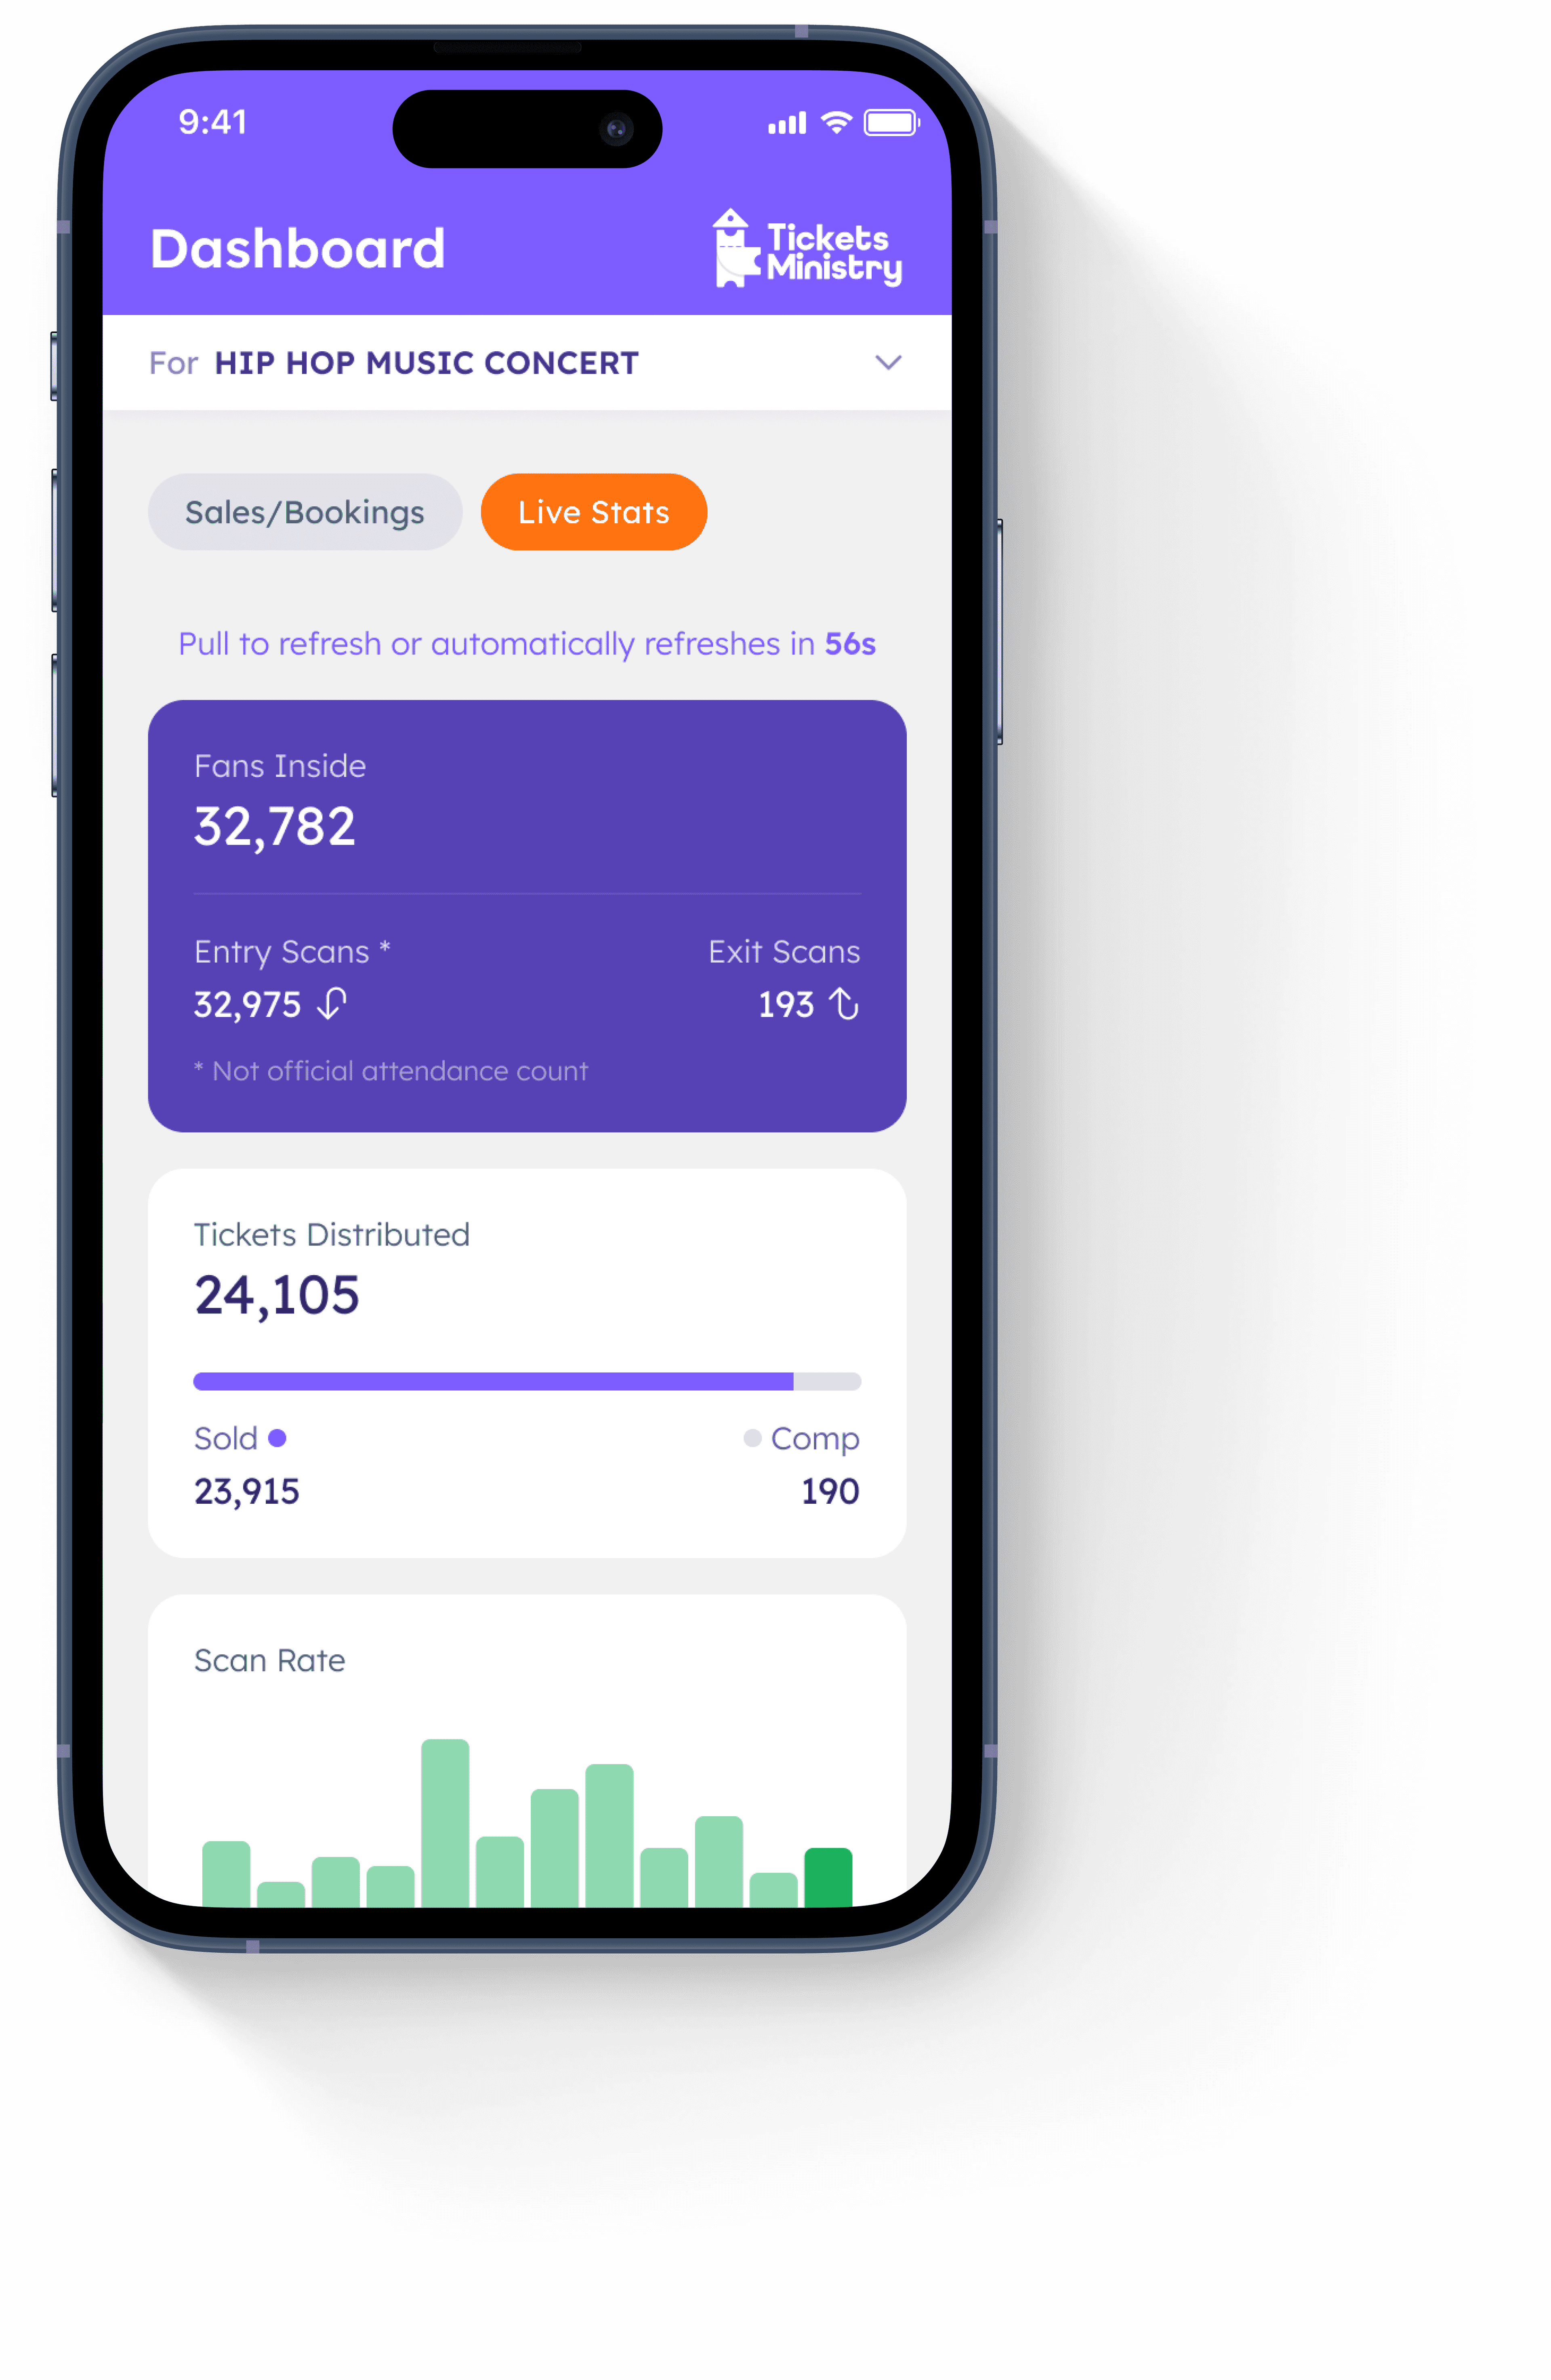
Track who's inside as it happens.
- Real-time fans-inside count with entry/exit scans
- Tickets distributed: sold vs. complimentary
- Live scan-rate activity graph
From download to door, step by step.
The same app serves two roles. Organisers get everything below. Co-ordinators get the steps marked Everyone, which is sign-in and gate scanning: the reporting screens stay closed to them.
Download and sign in
Install TM Manager Console from the App Store or Google Play. On first launch pick your country, then sign in with your email and password, or use Continue with Google or Continue with Apple. Organisers use their TicketsMinistry organiser account. Co-ordinators use the email and password their organiser set for them.
Choose the event you are working on
Every reporting screen follows one selection. Open the event picker at the top of the Dashboard and pick your event: sales, live stats and invitations all follow it, and you can pull down to refresh if an event you just published is missing. Scanning is the exception, it needs no event selected, which is why a co-ordinator never has to pick one.
Watch sales as they happen
Dashboard, then the Sales/Bookings toggle, charts revenue and booking counts over time. Filter by ticket package and by Today, This Week, Last Week, This Month, Last Month or All Time. The Sales tab breaks the same numbers down package by package, with sold against remaining for each one.
Follow live stats on event day
The Live Stats toggle on the Dashboard tracks the door in real time: fans inside, entry, exit, internal and rejected scans, scan rate over the last thirty minutes, and tickets distributed split between sold and invited. Treat the entry count as an operational number for your door team, not as an official attendance figure.
Add your door team
Settings, then Coordinators, then New Coordinator. Enter first name, last name, email and a password, then select the accessible events: at least one is required, and that selection is exactly what the co-ordinator will be able to open. Back on the list you can search your team, edit a co-ordinator, flip anyone between active and inactive, or remove them.
Scan tickets at the gate
Tap the scanner button in the centre of the navigation bar and point the camera at the ticket QR. If a code will not scan, switch to the Type tab and key the order ID in by hand. The result shows the customer, event, package, ticket price and quantity. Verify All admits the whole booking. Verify Selected admits only the sub-tickets you tick, so a group booking can walk in across several arrivals.
Read the scan result before waving anyone through
Successfully Verified means the ticket is good. Already Verified names who verified it and when, which is your duplicate check at the door. Payment Issue means the booking was never paid for. Not Found means the code does not belong to this event at all. Only the first of those four is an admit.
Send guest invitations
Settings, then Invitations, then New Invitation. Tap Get Sample CSV for the template, fill in each guest name and email, then Pick Excel and check the file preview before you send. The Invitations list filters by Delivered, Accepted and Rejected so you can see who has actually responded.
Track where your sales come from
Insights, then Tracking, then Create New Custom Link. Give the link a name, source, medium, campaign and term, then Generate Link and share it. The same screen connects your Google Analytics and Meta tags, and lets you deactivate or delete a link once its campaign is finished.
Verifying a ticket cannot be undone. Verify All asks you to confirm first because it marks every ticket on the booking as used in one go, so at a busy door prefer Verify Selected for groups arriving in parts. If a co-ordinator should no longer be admitting guests, set them to inactive under Coordinators rather than sharing a new password.